Good audition monologues can be hard to find. They’re a staple for self-tape auditions and are a common element of community theater auditions as well. Having a few monologues for auditions prepared and kept in your audition book can ensure you’re ready just in case you need one.
Whether you’re preparing for upcoming audition or class, or just want to practice your acting skills, this guide will help you figure out how to find good audition monologues easily!
What Makes a Good Audition Monologue?
As we’ll examine in a moment, it’s simple enough to find a monologue. Finding good monologues that show off your acting talents well is a whole other ballgame.
A good monologue…
- Will be an appropriate length for the audition
- Pay attention to what the audition notice asks for. Generally, this will be 1-2 minutes in length.
- Will be an appropriate style for the audition
- A good rule of thumb is to bring a contemporary comedy monologue for a contemporary comedy production, and so on– there could be exceptions to this rule, but this will be standard.
- Contains strong, varied acting beats
- Avoid monologues that are too “one-note”– look for ones with a good “switch,” so you can show different moods and acting abilities in one monologue
- Is well-prepared and well-memorized
- Don’t fret about finding the “perfect” monologue that you’ll have to cram the night before the audition. A monologue that you have in your back pocket, that isn’t necessarily stylistically ideal for the audition, will be better than one that isn’t ready for an audience. We’ll talk a little more about prep later in this guide!
Note: A good monologue does not have to be well-known. In fact, picking a lesser-known monologue may provide the opportunity to surprise the audition panel and pique their interest with something new.
Now that we have a basic idea of what to look for– something of adequate length and style, that isn’t too one-note and that we are ready to thoroughly prepare and perfectly memorize– we can talk about how to find monologues for auditions.
How to Find a Monologue Online
You don’t need to know a lot of famous soliloquies from classic plays to find a good audition piece. There are a wealth of resources online to assist you in your search.
Backstage has a robust catalogue of monologues and a handy search tool to help you find options suitable for you.
MonologueGenie is another good choice. While it lacks the search functionality of Backstage’s catalogue, the site is somewhat easier to browse, and you can see more options at one time. Select pages for gender, length, or genre.
DailyActor‘s monologue database includes monologues from TV and Film, which may be appropriate for your needs, depending on what you’re auditioning for. More options are always valuable, anyway– some theatre monologues are dreadfully overdone for stage auditions.
Generally, however, I have found finding monologues online to be rather tedious and not especially satisfying. This is why I heartily recommend the next option instead…
How to Find a Monologue From a Play
The obvious drawback of this method is that it requires you to read plays in order to find your monologues– it’s not exactly time efficient.
However, assembling a passive library of monologues by keeping track of potential moments in plays you’re reading is one of the best ways to find monologues that speak to you. Some of the best monologues come from plays!
Here’s a step-by-step process for how to turn play dialogue into a monologue:
- Read a play. I know that step is pretty self-explanatory, but it’s the hardest part of this process.
- Find a scene where a character has either a long, uninterrupted chunk of text, or several long lines in a row with some interruption. The latter can be a little tricky to spot, but practice helps.
- Remove any interruptions or unnecessary stage directions. You may have to tweak some lines just slightly to make what’s left make sense.
- Copy/paste this to a fresh Word document, or print a copy of the page from the script.
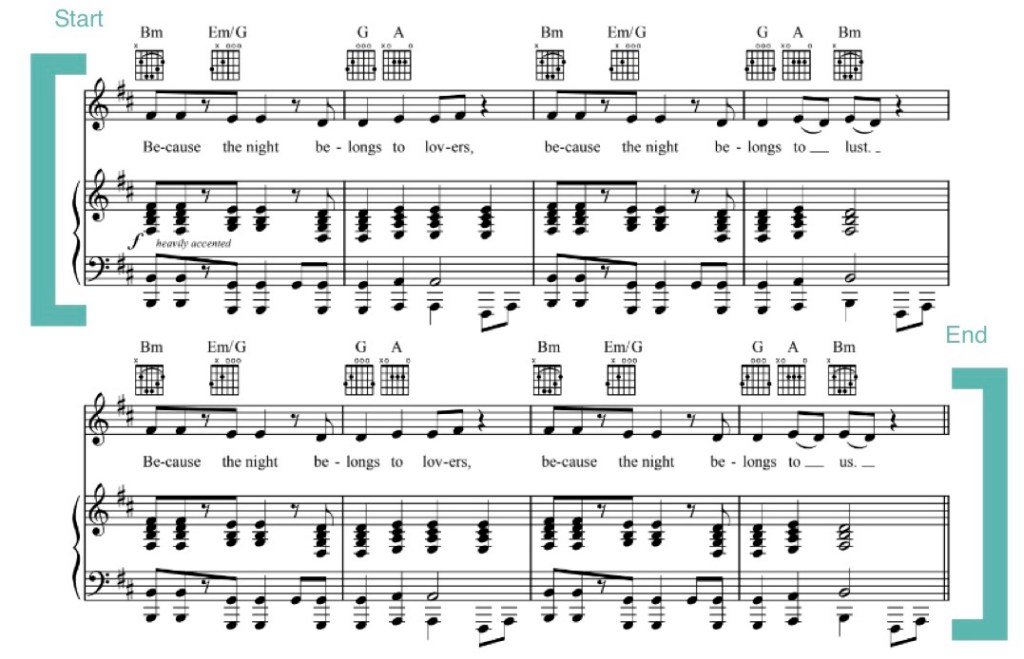
Done! In case this isn’t super clear, here are two examples to better illustrate what I’m talking about.
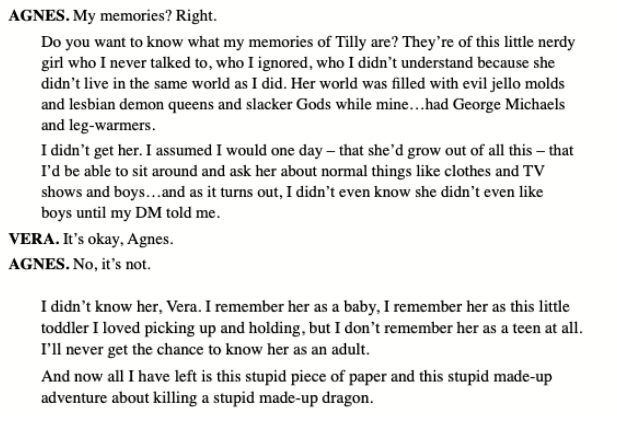
This first example (From Qui Nguyen’s She Kills Monsters) requires essentially no adjustments. There’s one interruption, but this can be easily remedied by removing the interruption and adding a word so Agnes says “no, it’s not okay” instead of just “no, it’s not.” (You don’t actually need someone to say Vera’s line– your audience will understand why your character is proclaiming “no, it’s not fine!” seemingly out of nowhere.)
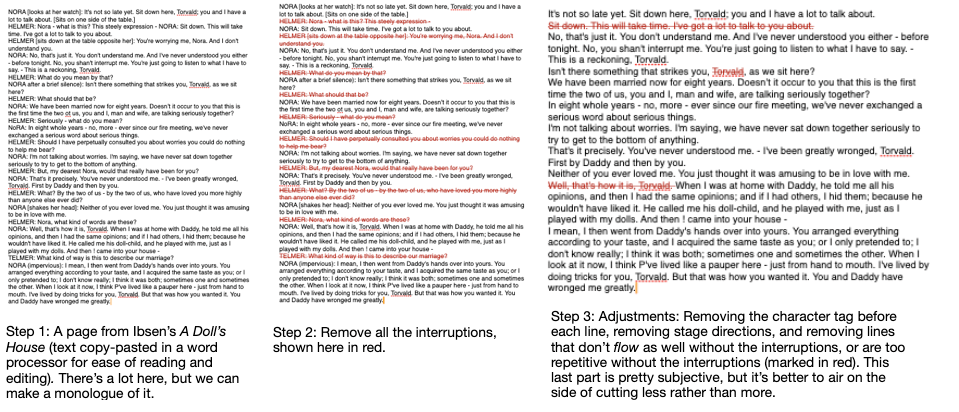
Here’s another example of a scene that requires slightly more finesse to turn into a monologue, but it still works just as well:
Once you start looking for monologues from plays, you’ll find that you have a lot of options! Hopefully this provides a good excuse for you to revisit your favorite plays– or read some new ones– and look for scenes you can adapt.
Monologue Books?
It’s true that there is a veritable mountain of published books containing nothing but audition monologues. You may have good luck with these, and keeping a few in your actor’s library may be helpful for you. Generally, though, these are unnecessary to actually find a good monologue, and the offerings tend to be stale. If you really want to plumb this resource, consider checking your local library first rather than purchasing them. Getting your monologues online or directly from plays will probably serve you better nonetheless.
How to Memorize a Monologue
There’s really no getting away from repetition when it comes to memorization. For more in depth tips, consider looking at guide to memorization for actors.
Some quick and dirty suggestions to get you started:
- Read it many times, both silently and out loud. If it’s from a play, read the whole play, if you can.
- Break down the monologue into smaller chunks to make memorization easier. Work on a section at a time.
- Practice in many different places, in many different ways, and in front of many different people, if at all possible. The variety is good for your memory and helps prepare you for reading in an unfamiliar audition environment.
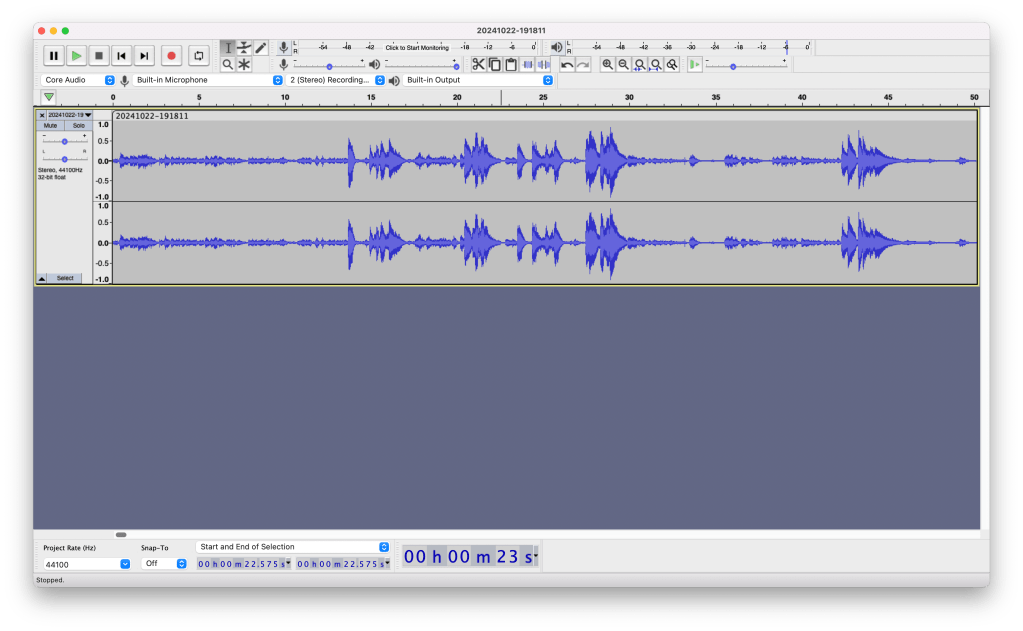
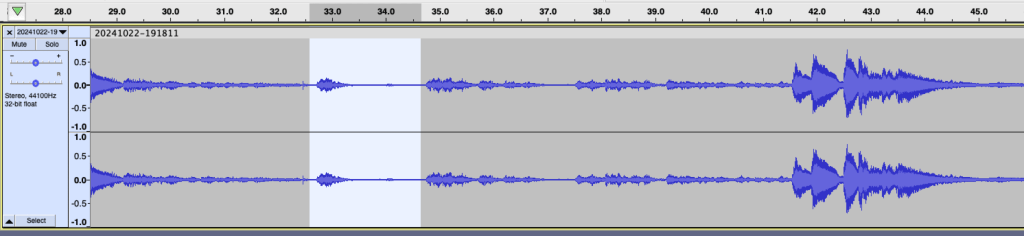
- Try recording yourself reading the monologue (video or audio recording) and watch or listen back to it. Listening to the audio can be a handy way to refresh yourself on the words even when your hands and eyes are busy, like while you’re driving or cooking.
Once you’ve found a great monologue and it’s memorized and well-practiced, you’re ready for your audition!
Read more plays, or scour the sites provided above, and see what options you can find! When you find a good one, save a copy to your computer or print it out and keep a physical copy, so you’ll always have some monologues in your back pocket!